Improving Thermal Efficiency in Existing Canadian Homes
Contents
Most of the residential building stock in Canada was constructed before the current energy efficiency requirements in the National Building Code. Upgrading existing homes to reduce heat loss involves different constraints than new construction: interior finishes may conceal framing, existing insulation may be incompatible with certain upgrades, and moisture conditions in the assembly need to be understood before adding insulation that could change how it dries.
A systematic approach begins with measurement — understanding what the existing assembly contains and how much air leakage is present — before determining which upgrades are both feasible and cost-effective for the specific building and climate zone.
Starting with an Assessment
The Natural Resources Canada EnerGuide home evaluation provides a standardized assessment of a house's energy performance, including a blower door test for air tightness, an infrared camera scan where applicable, and an analysis of the insulation levels in the attic, walls, and basement. The output is an EnerGuide rating and a list of recommended upgrades ranked by cost-effectiveness for the specific home and climate zone.
Homeowners can also conduct an informal assessment by inspecting accessible areas: the attic floor for insulation depth and air bypass locations, the basement rim joist for gaps, and window frames for visible deterioration of weatherstripping. Measuring existing insulation depth with a ruler or tape measure at the attic hatch gives a rough R-value estimate when the material type is known.
What to document before starting work
- Insulation type and depth at the attic floor (loose fill vs. batts)
- Presence or absence of a polyethylene vapour barrier on the ceiling or wall
- Location of any previously sealed attic bypasses or evidence of prior work
- Basement wall construction (concrete block, poured concrete, or wood frame) and existing insulation if any
- Window age and glazing type (single, double, or triple pane)
- Ventilation system type (natural, exhaust only, or balanced HRV/ERV)
Attic Insulation Upgrades
The attic floor is typically the highest-priority upgrade location in Canadian homes because it has the largest surface area exposed to extreme cold, the lowest existing insulation levels in older stock, and the best accessibility for retrofit work. Adding blown insulation to an attic floor is among the most straightforward and cost-effective improvements available.
Before adding insulation, attic bypasses must be addressed. As described in the article on air sealing, partition wall top plates, plumbing chases, and electrical penetrations are sealed from the attic side before new insulation is blown over them. Insulating over an unsealed attic floor pushes the condensation plane further into the assembly and can worsen moisture problems if the bypass air is carrying significant moisture.
Blown cellulose and blown fiberglass are both used for attic top-up work. Blown cellulose settles slightly over time; manufacturers' installation guides specify the required installed depth to achieve the target R-value after settling. In occupied attics with low truss heel heights at the eave, baffles must be installed to maintain a ventilation channel from the soffit to the attic interior, and insulation should not block soffit vents.
Increasing attic insulation depth from R-20 to R-60 — a common target in northern Canada — requires approximately 14 to 18 inches of blown cellulose above the existing insulation, depending on density.
Basement and Crawl Space

Basement wall insulation in existing homes can be added to either the interior or exterior face of the foundation wall. Interior insulation — typically rigid foam or a framed wall with batts — is more common in retrofits because it requires no excavation and can be installed without disrupting the building exterior or landscaping. Exterior insulation provides better thermal performance by eliminating thermal bridging through the foundation wall, but requires excavation to footing depth and is typically only undertaken during other major foundation work.
For interior basement insulation, the first decision is whether to use a framed wall with batts or continuous rigid foam boards applied directly to the concrete. Building science research conducted by institutions including the Building Science Corporation and Carleton University's CSBE has shown that rigid foam applied directly to concrete performs better in cold Canadian climates because it keeps the concrete wall above the dew point for much of the heating season, reducing the risk of condensation on the cold face of the framing.
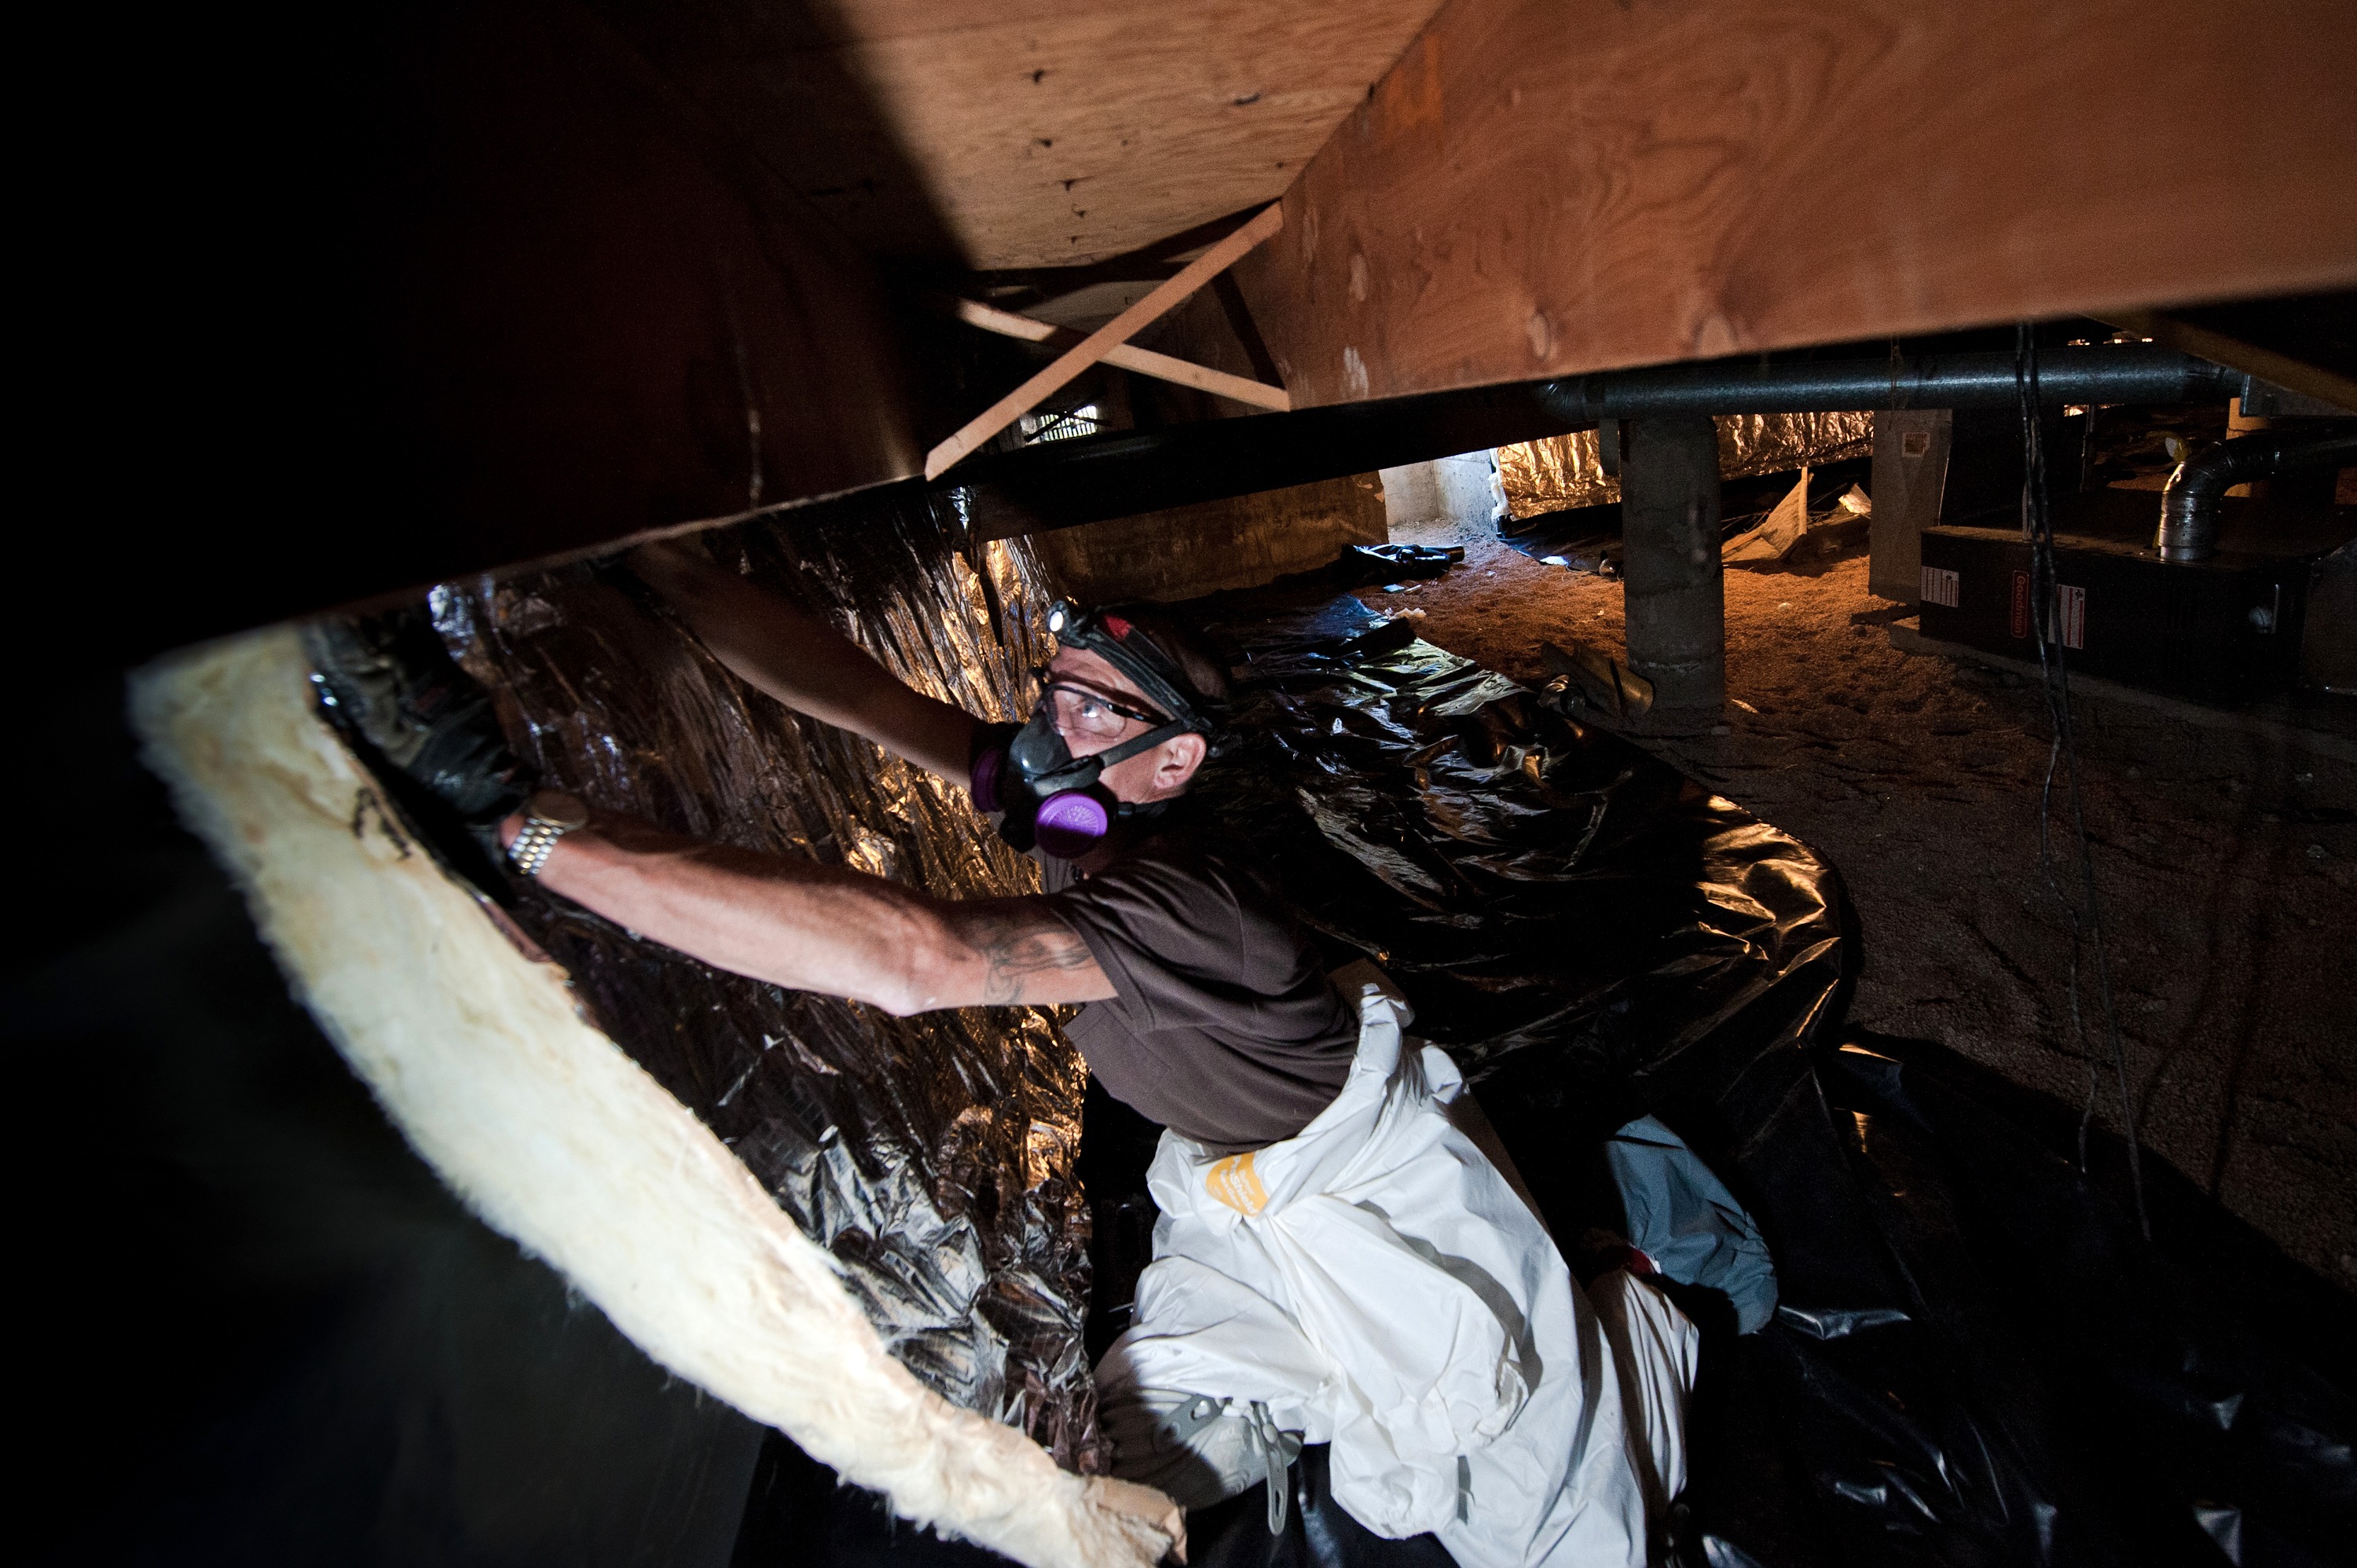
Crawl space insulation
Crawl spaces can be treated as either vented or unvented (conditioned) assemblies, with different insulation strategies for each. In a vented crawl space, insulation is placed between the floor joists above, and the crawl space itself is ventilated to the exterior. In an unvented (encapsulated) crawl space, insulation is placed at the perimeter walls and on the floor, and the space is conditioned as part of the interior. In cold Canadian climates, encapsulated crawl spaces typically perform better because vented crawl spaces can accumulate frost and moisture in extreme cold.
Above-Grade Walls
Existing above-grade wall cavities can be improved by dense-packing with blown cellulose or fiberglass through holes drilled from the exterior, typically between studs from the outside, plugged and re-sided after installation. This approach adds insulation to previously empty or partially filled cavities in older homes and improves air resistance within the cavity.
Adding continuous insulation to the exterior of an existing wall — by overclading with rigid foam and new cladding — is more disruptive and expensive but is the only way to address thermal bridging through the framing. This approach is most practical when the exterior cladding is already being replaced as part of a renovation.
Windows and Glazed Openings
Window replacement is often cited as a high-priority energy retrofit, but its cost-effectiveness relative to insulation and air sealing upgrades is more limited in most Canadian climate zones. A triple-pane window in a 2-metre by 1-metre opening provides roughly R-8 to R-10 of centre-of-glass thermal resistance. A well-insulated opaque wall section of the same area would provide R-30 or more. The energy benefit of window replacement comes primarily from eliminating air leakage through deteriorated seals and weatherstripping, and from reducing radiant heat loss to cold glass surfaces that causes occupant discomfort.
Where window replacement is deferred, improving the sealing of existing window frames — with fresh caulking at the frame-to-wall junction and replacement weatherstripping on operable components — addresses the air leakage component without the capital cost of full replacement.
Climate Zone Context
Canada's climate zone map, as referenced in the NBC 2020 and NRCan publications, divides the country into zones based on heating degree-days. The zone system matters for retrofit decisions because minimum R-values scale with climate severity. A home in Zone 4 (southern BC coast, lower mainland) has meaningfully different insulation targets than one in Zone 7a (central Saskatchewan, northern Ontario).
The Natural Resources Canada home energy efficiency page provides zone-specific guidance and information on the Canada Greener Homes Grant program, which has provided financial support for EnerGuide evaluations and insulation retrofits in past funding cycles. Program availability and terms change; the NRCan website is the authoritative source for current program status.
Sequencing Retrofit Work
The order in which thermal upgrades are undertaken affects both technical outcome and cost. The general principle in building science practice is: air seal first, then insulate. Insulating before air sealing can obscure bypass locations, making subsequent air sealing work difficult or impossible without disturbing the new insulation.
Recommended retrofit sequence
- Complete an energy assessment to establish baseline and identify priority locations.
- Seal attic bypasses (top plates, plumbing, electrical) from the attic side.
- Seal rim joist from the basement interior with closed-cell spray foam or rigid foam and caulk.
- Address window and door weatherstripping and perimeter caulking.
- Top up attic insulation to target depth after air sealing is complete.
- Add basement wall insulation if feasible given moisture conditions.
- Verify ventilation adequacy (HRV/ERV) after significant tightening.
- Conduct a post-retrofit blower door test to confirm improvement.
A post-retrofit blower door test confirms the actual improvement in air tightness and provides documentation for any applicable rebate or grant program. Some programs require before-and-after EnerGuide evaluations by a registered energy advisor as a condition of payment.
Last updated: June 8, 2026. Source references: Natural Resources Canada — Home Energy Efficiency; National Building Code of Canada 2020; Keeping the Heat In.
Types of Home Insulation: Materials, R-Values, and Applications
A structured comparison of fiberglass, cellulose, mineral wool, rigid foam, and spray foam.
Identifying and Fixing Drafts in Residential Buildings
Methods for locating air leakage and practical approaches to sealing common problem areas.